
After multiple versions, I finally managed to adapt a 3D printed stick extension, wiring and mount. The Hotas flight stick is so smooth and accurate with seemingly infinite resolution, it just feels like the real thing. On my first test flight, I greased the landing at 35 FPM, which is much smoother than my normal 150-250 fpm landing with the Saitek Aviator I had been using.
I do miss the built in throttle control on the Aviator though, which I had been using as an ad-hoc cyclic for helicopters on occasion. There are way too many buttons and selector knobs than needed for my purposes, but if the smooth control is long overdue. Goodbye, Saitek Aviator stick!
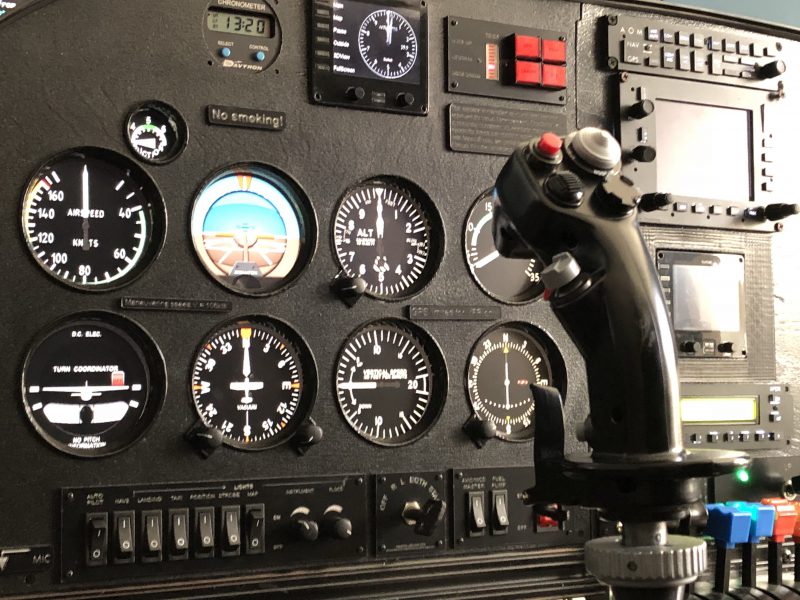
I really needed to floor mount the joystick, with a curved extension piece. In my research on this, I found some people had built similar products already, but nothing for the HOTAS Warthog stick.

I decided to build my own, which was not a simple task. I found some 3D print models on Thingiverse of extensions, which a friend modified and 3D printed for me. With a few iterations, the results are very nice. Here it is, prior to mounting.
To get the height correct, I had to laser cut a box/riser, which I secured firmly to the base. With the extension, I had to build in much more tension, to auto-center the stick. I accomplished this by cutting some old bungee cords and bolting them to the base and wrapping around the base of the stick. It works and feels great.
The wiring was quite a challenge, as the Hotas uses a 5 Pin DIN connector, which is not used it seems, for anything else. I had to special order these and very carefully solder a custom extension cable together. I can see why people sell these online for $40-60.